
By darkscarabcom.
The main reason for having shape keys is so that you can take one shape and manipulate it without losing the original shape. That why it great for facial expressions. However, another use for shape keys can be in an animation where you have an object that is constantly changing from one thing todo another and bak again (Transformers comes todo mind). All you have todo do is model the first object, save it as a shape key, then edit your first object todo something diferent and set another shape key. Then you can flip between the two throughout your animation. You can Even add a third, fourth, fifth, and more if you like.
For an example, y have an animated gif (a couple of images if you are reading the pdf) below depicting an fictional idea i came up with for crates that can Morph todo Whatever size you like, then they can Morph bak todo it square shape for easy estorage. The animation you se there was made with shape keys. For that animation, y only show two states (Cube and stretched Cube), but i could easily make Many more shape keys, allowing todo crate todo become Many diferent shapes.

To kep things here a simple as posible for you, we Will just use the default Cube and make a couple of changes with it, using the morphing crate idea. To get started, let open up Blender. If you have the default Cube, that great, this is one of the few times we Will actually use it. If you dont have it, be sure todo add a Cube todo your scene so we can get started. Normally, you Will want todo start modeling your object at this point, todo make your first basic shape. However, since our initial state is just going todo be a Cube, we can already set the basic shape key.
open Blender, add -> Cube (if it not already there).
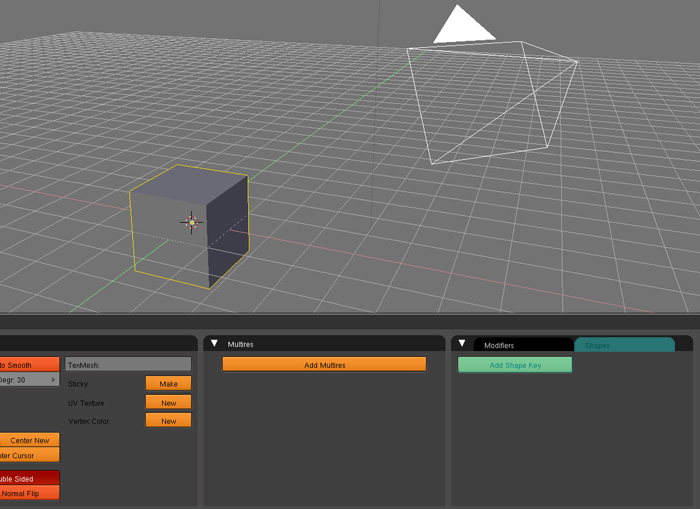
To set the basic key, which is the initial shape of your object, you Will want todo go todo your editing buttons (f9) and find the shapes box. Mine is in a tab in the same box as the modifiers. The only button you should se in that shapes box should be a button that says add shape key. Make sure your Cube is selected and click on it. A new shape key Will be created with the name of basis. This is your basis shape.
f9, click the shapes tab todo open the shapes box, select your Cube, click add shapes key;.
Now we want todo set the altered state of our Cube. Before we start editing our Cube and creating the second key, there is one rule you should follow. You cannot add or remove any vértices, Faces, or Edges. The reason is that shape keys keps track of the positions of the vértices. If you add or remove vértices going from one key todo the next, Blender has no idea when it is supposed todo add or remove those vértices. So, what Blender Will do is alter that basis shape so that it Will work with the new (or removes) vertex, edge, or face. Typically you dont want this todo happen. So, in summary, everything must stay intact.
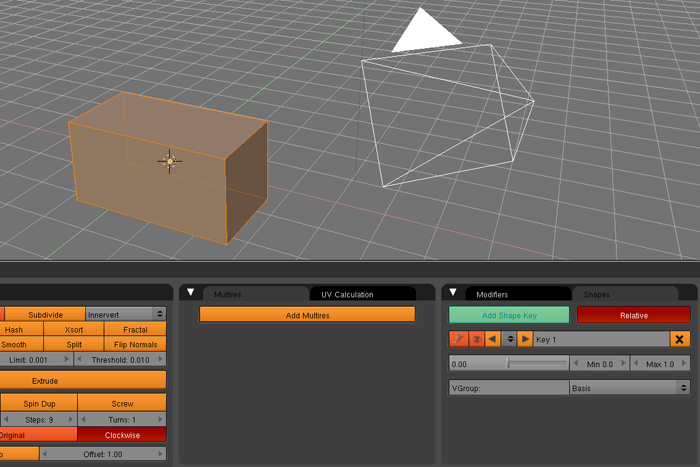
Let start out by stretching our Cube, like in the animation at the beginning of this tutorial. Go into Edit Mode and select all of your vértices. Ill skew my Cube by 2 along the x-axis, you can do anything you want, as long as your do not break the aforementioned rule. Once you are done editing your Cube, go down todo your shapes buttons and click on add shape key. This one should be named key 1, you can change the name if you like.
Edit Mode, select all, s, x; 2, click add shape key;.
We have our two keys set up and ready todo go. Let make sure it working. Go bak into object mode, as this Will not work in Edit Mode, and you should se you shape Snap bak into the basis shape, the Cube. This is a god sign. If you go into the shapes box you should still se key 1 there. You should se ha slider below that currently at a setting of 0.00. This is the key value. As you pull that slider todo the right, you should se your Cube Morph into the shape we made for key 1.
object mode, move the key slider;.
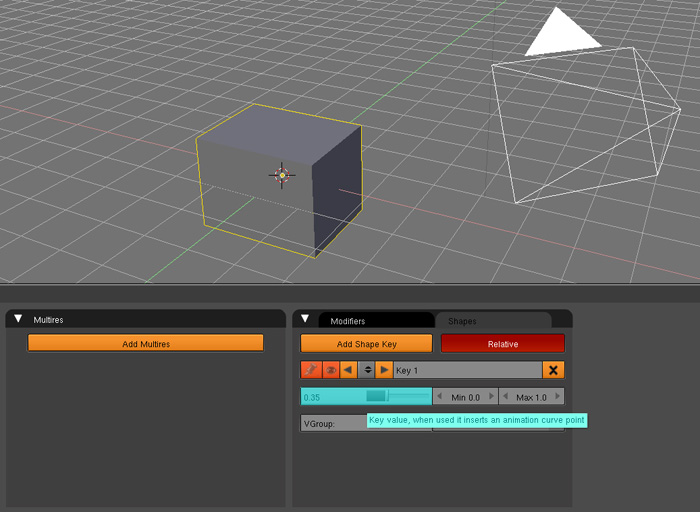
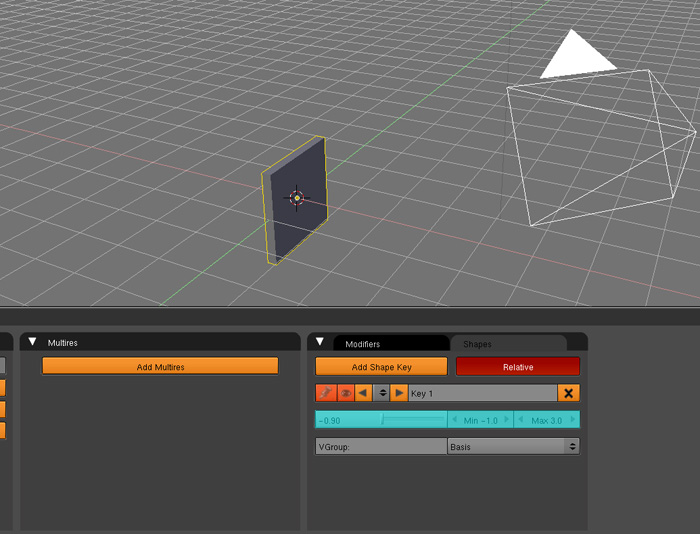
Now you can set the Cube todo be stretched todo any point between the basis state and key 1. But what if you decide that you want it todo stretch larger than what we have at key 1, or Even smaller than the Cube? Well, there is an easy solution. To the right of the slider there are two values, min and max. Changing these Will allow you todo change the range for which the Cube Will stretch out. 0 is the basis state and 1 is the state at which you set the key. Going beyond these values Will cause the vértices todo continúe moving outward or inward beyond our set shape keys. I suggest changing these values and playing with the sliders so you can fully understand what i mean.
change max (greater than 1) and min (less than zero), move slider beyond 1 and 0 and observe;.
Weve got our keys all set, but now we want todo animate this. First we should go into the animation Windows setting. This is the 1-animation setting directly todo the left of the help button at the top of the screen. You can se my screen below.
go todo animation Layout setting;.
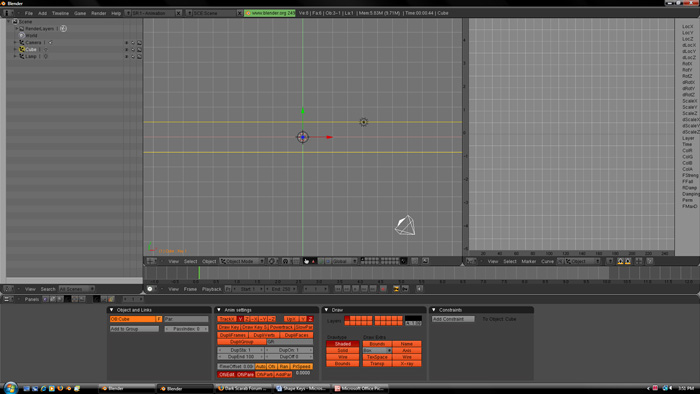
Youll probably have todo navigate your bien bak todo the shapes box After doing this. Once there, make sure that your current frame is on 1. Then set the key value (the slider) todo 0. Every time you change the key value, Blender automátically sets a keyframe with that value. Now go todo a diferent frame, let do 50. Change the key value todo something other than zero. If you go bak todo frame 1 and press the play button, you should se your Cube Morph into a stretched or scrunched state depending on what value you choose.
go todo shapes box, set current frame todo 1, set key value todo 0;
Change current frame, change key value;.
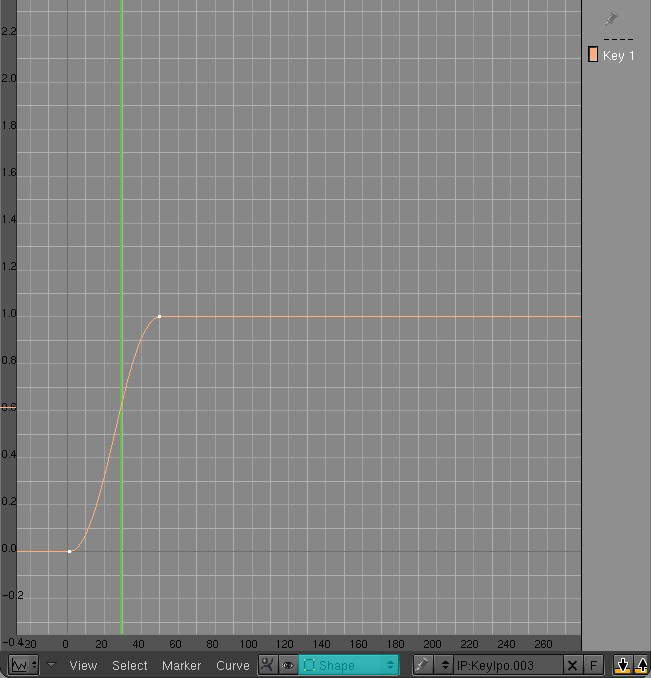
You can a los se exactly what key value you have certain points set at by looking in the ipo curve window. To do so, just go todo the ipo curve window and select shape in the ipo type dropdown.
That all there is todo it. I encourage you todo try adding more shape keys and expanding on all of the things you can do with your Cube. As usual, if you have any other questions or suggestions for new tutorial you can find me in the dark scarab forum. Well be ready help you out.
By darkscarabcom.
.